Figma to App Store screenshots: the 3D mockup workflow
Figma is the industry standard for designing user interfaces, but it is inherently flat. When you need to turn your designs into high-converting 3D App Store or Google Play screenshots—with realistic device rotation, depth, shadows, and continuous backgrounds—relying on Figma alone can be slow and tedious. This guide details how to build a seamless design-to-mockup workflow using Figma and Ecranify.
Why separate UI design from screenshot marketing?
Figma is excellent for components, vector design, and UI layouts, but converting those designs into finished app store screenshots presents several challenges:
First, rendering realistic 3D angles and lighting is difficult. Figma plugins for 3D rotation are often slow, low-resolution, or charge expensive subscription fees.
Second, managing multiple device sizes—like the mandatory iPhone 6.9″ and iPad 13″ screens—requires maintaining dozens of complex artboards in Figma, stretching and scaling layouts manually.
By designing your core app screens in Figma and using Ecranify as your 3D presentation and slicing engine, you get the best of both worlds: vector precision for your UI and real-time 3D control for your marketing graphics.
Recommended Figma export dimensions
To ensure your app screens look crisp and sharp inside 3D device models, you must export them from Figma at the correct aspect ratio. Standard device screenshots should be exported at a high resolution (usually 2x or 3x pixel density) as opaque PNGs or JPEGs.
Use the table below to configure your Figma frames before exporting. These dimensions ensure a perfect fit with zero stretching or distortion inside Ecranify’s 3D device meshes.
| Target Device | Ratio | Figma Frame Size (1x) | Recommended Export Size (2x) |
|---|---|---|---|
| iPhone 17 Pro Max (6.9″) | 9:19.5 | 440 × 956 px | 880 × 1912 px (or 1320 × 2868 px) |
| iPhone 15/16 Pro (6.7″ / 6.1″) | 9:19.5 | 430 × 932 px | 860 × 1864 px |
| iPad Pro 13″ (M4) | 3:4 | 1032 × 1376 px | 2064 × 2752 px |
| Android Phone (Generic) | 9:16 | 360 × 640 px | 1080 × 1920 px |
| Android Tablet (Generic) | 10:16 | 800 × 1280 px | 1600 × 2560 px |
The step-by-step workflow
Getting your designs from Figma onto the App Store is a simple four-step process:
- Do design your UI using standard device frame presets in Figma.
- Do export your screens at 2x or 3x scale as opaque PNGs or JPEGs (no transparency) to ensure crisp text.
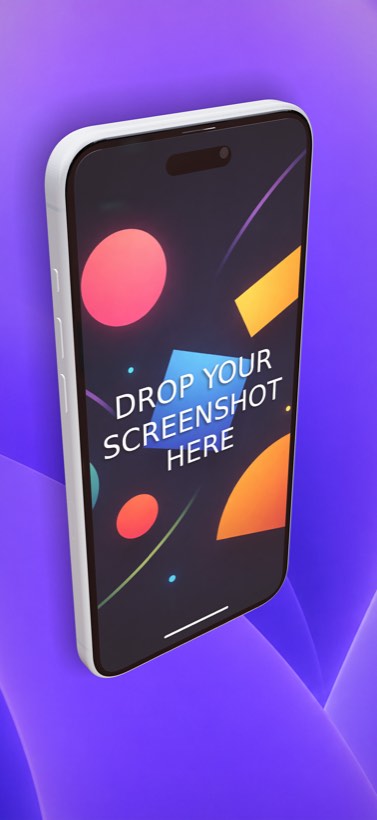
- Do upload your exported images directly into Ecranify’s screen texture slot for your target 3D model (e.g. iPhone 17 Pro Max).
- Do angle the device in 3D space, customize the background gradient, and position text headlines to finish your composition.
Designing continuous carousel screenshot strips
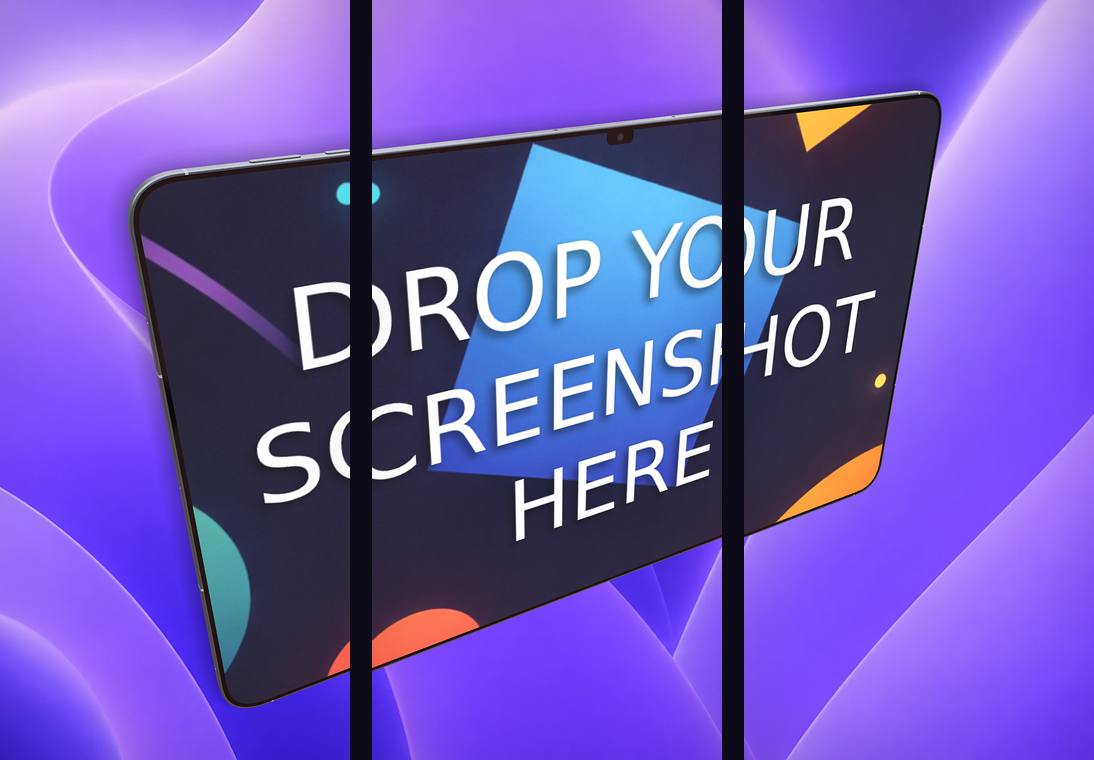
One of the most effective App Store marketing trends is the continuous layout—where a single background gradient, text headline, or even the 3D device itself spans across multiple screenshot frames. Designing this in Figma requires slicing files perfectly, which is broken the moment you change layout order.
In Ecranify, you can design your continuous background and position your 3D devices as a single, unified strip. When you are done, the built-in carousel export automatically slices the composition into individual store-ready files, complete with configurable gaps to offset the physical spacing added by the App Store.
ASO tips for designer-led screenshots
A good workflow is only as good as the final conversion. When publishing your screenshots, keep these App Store Optimization (ASO) rules in mind:
- Focus on the upper third: Users scan listings quickly. Place your bold benefit headlines in the top 30% of the screenshot where they won’t be covered by devices.
- Boost UI legibility: Increase font sizes and contrast on your Figma screens specifically for screenshots. Real-world UI text is often too small to read on a mobile search results page.
- Use consistent lighting: When creating a multi-screenshot set, maintain the same 3D camera elevation and lighting angle across all frames to establish a professional, cohesive brand.
- Keep safe margins: Keep critical UI elements (like checkout buttons or navigation bars) away from the extreme edges of your Figma frames so they don’t clip when mapped to a 3D model.
Build these in Ecranify
Frequently asked questions
Related guides & comparisons
Transform your Figma layouts into 3D mockups
Upload your Figma exports to Ecranify, angle your devices in 3D, and export store-ready screenshots. Free to start — pay only per export.